Installation
Some steps are marked as (Recommended) — these follow best practices but aren't required for a working LAMP install.
Replace [placeholders] with your own values when running commands.
Install and Configure Apache
First we'll install Apache and ensure it's up and running before moving on to the additional server components.
Apache will act as the web server in our LAMP stack, meaning it will serve files to clients (browsers) when requested, making it possible to display your website or files over the network.
Install Apache
Install apache2 using the following command:
sudo apt install apache2 -y
Verify Installation
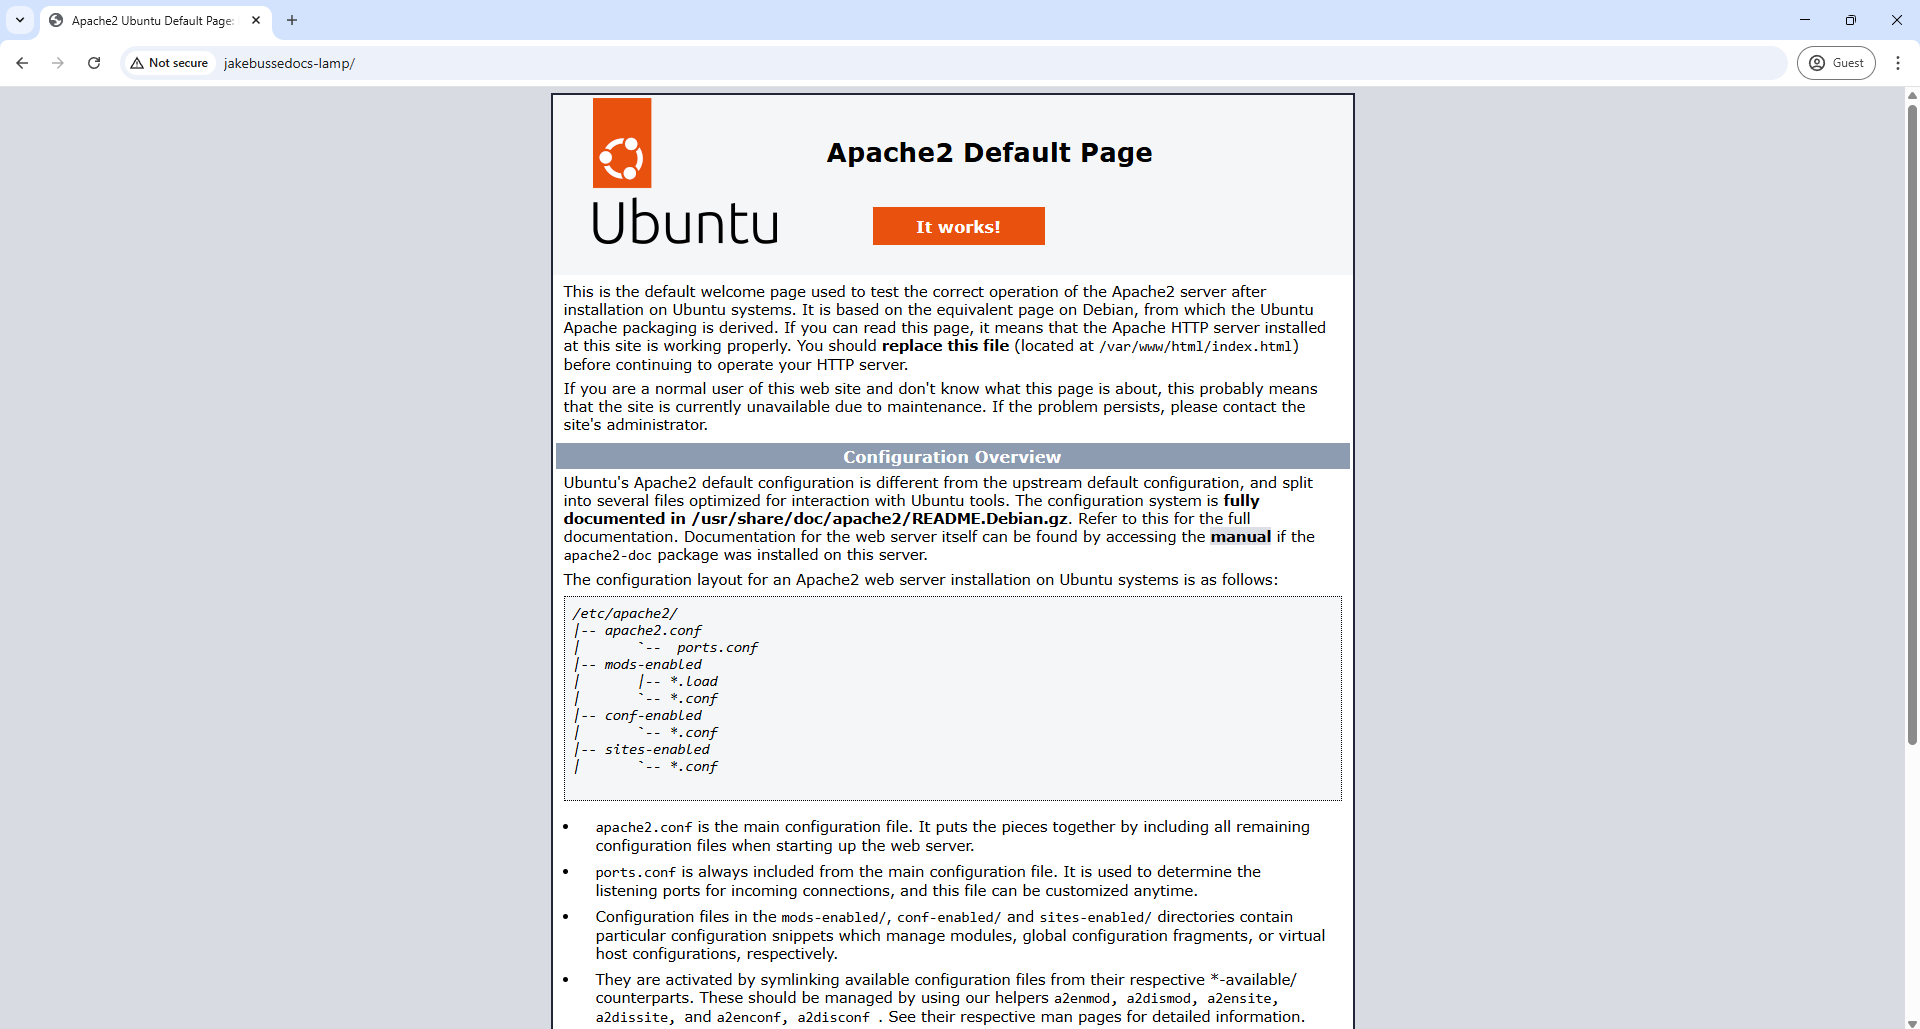
Once this installation has completed, you can verify it by navigating to http://[your-local-ip] or http://[your-hostname] in a browser.
You should see the following screen (or similar, depending on your Linux distribution):
You can also check the status of the Apache system service by running:
sudo systemctl status apache2
This command will come in handy later on for troubleshooting Apache configurations.
Install and Verify PHP
Next, we'll install PHP and verify that it is properly communicating with Apache.
Install PHP
Install PHP by executing the following command:
sudo apt install php -y
Verify Installation
Check PHP Version
First, check the version of PHP installed on your server:
php -v
You should see something like:

Basic PHP Webpage Test
Now that we know PHP is installed and current, we need to make sure it is communicating properly with Apache.
First, let's create a file in /var/www/html called test.php
sudo touch /var/www/html/test.php
Then, we'll add the following code that should display the current time when served to a browser from Apache:
<?php
echo "Today's date is ".date('Y-m-d H:i:s');
Now, if you navigate to http://[your-hostname] (or 'http://[your-local-ip]), you should see the following:

Install and Configure MySQL
Finally, we'll install and configure the MySQL server, the last step in creating a functioning LAMP web server.
Install MySQL Server
To install MySQL, run the following command:
sudo apt install mysql-server -y
Verify Installation
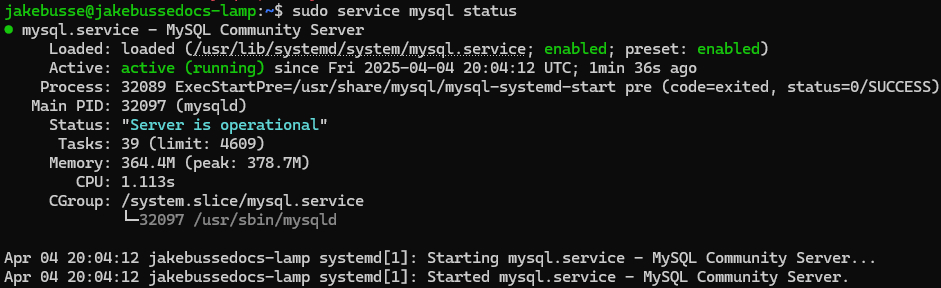
Once the installation is complete, you can verify MySQL is installed and running with:
sudo service status mysql
You should see:
Configure MySQL with mysql_secure_installation
To begin the configuration steps for MySQL, run:
sudo mysql_secure_installation
VALIDATE PASSWORD COMPONENT
You will be prompted with:
VALIDATE PASSWORD COMPONENT can be used to test passwords
and improve security. It checks the strength of password
and allows the users to set only those passwords which are
secure enough. Would you like to setup VALIDATE PASSWORD component?

Press y|Y for Yes, any other key for No:
For production, it is highly recommended that you select "Yes" (y)
If you select "Yes" for the password validation prompt, you will be asked the following:
There are three levels of password validation policy:

LOW    Length >= 8
MEDIUM Length >= 8, numeric, mixed case, and special characters
STRONG Length >= 8, numeric, mixed case, special characters and dictionary                  file

Please enter 0 = LOW, 1 = MEDIUM and 2 = STRONG:
Choose the option that you find most appropriate for your needs.
Remove anonymous users
Next, you will be prompted with:
By default, a MySQL installation has an anonymous user,
allowing anyone to log into MySQL without having to have
a user account created for them. This is intended only for
testing, and to make the installation go a bit smoother.
You should remove them before moving into a production
environment.

Remove anonymous users? (Press y|Y for Yes, any other key for No) :
For production environments and/or inexperienced users, it is recommended to select "Yes" (y)
Disallow root login remotely
Next, you will be prompted with:
Normally, root should only be allowed to connect from
'localhost'. This ensures that someone cannot guess at
the root password from the network.

Disallow root login remotely? (Press y|Y for Yes, any other key for No) :
Again, for production environments and/or inexperienced users, it is recommended to select "Yes" (y)
Remove test database and access to it
Next, you will be prompted with:
By default, MySQL comes with a database named 'test' that
anyone can access. This is also intended only for testing,
and should be removed before moving into a production
environment.


Remove test database and access to it? (Press y|Y for Yes, any other key for No) :
For the purposes of this guide, we will select "Yes" (y)
Reload Privilege Tables
Finally, you will be prompted with:
Reloading the privilege tables will ensure that all changes
made so far will take effect immediately.

Reload privilege tables now? (Press y|Y for Yes, any other key for No) :
Select "Yes" (y)
Verify Configuration
Test the configuration by logging into MySQL with the command:
sudo mysql
Your command line interface should change to look like this:

Congratulations! You have successfully installed and configured a LAMP web server.